Sub-Total: $0.00

Exploring the Types of Carpet Textures
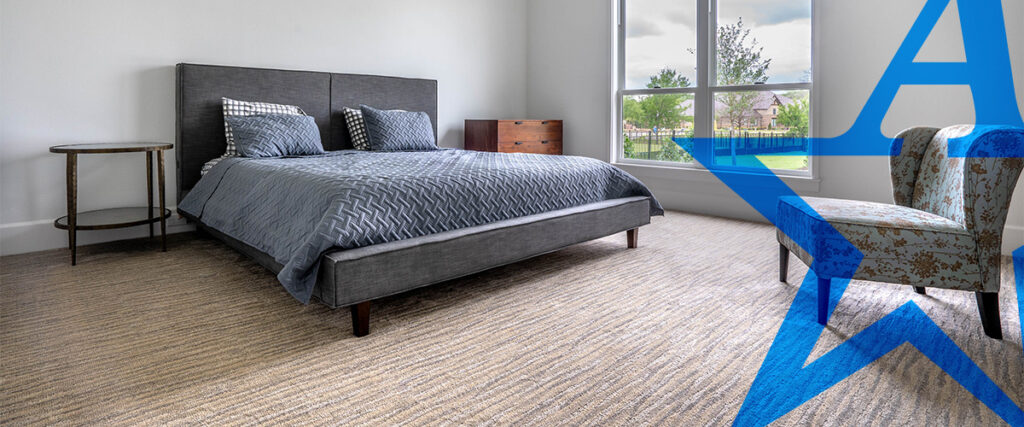
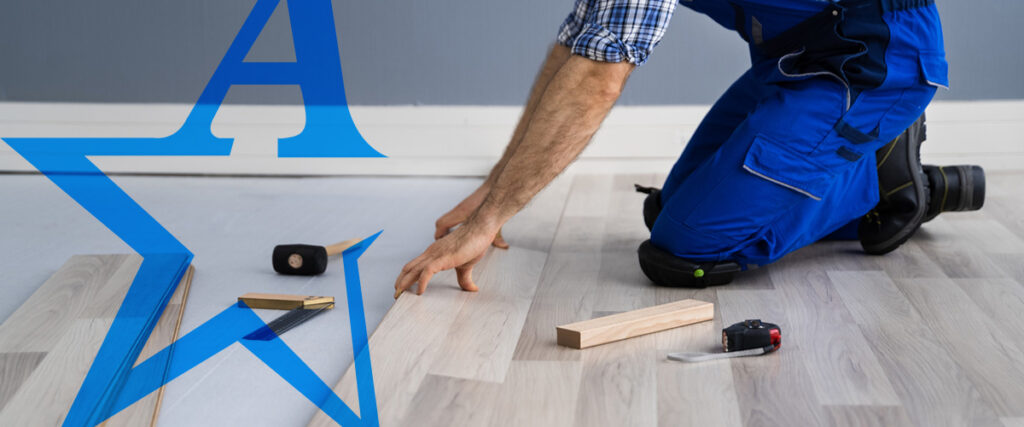
A carpet is more than just softness — it’s about style, texture, patterns, comfort and practicality working in harmony. Choosing the right carpet texture can completely dictate the look and feel of a space. And with so many options, understanding carpet construction and durability, fiber types and pile height is key to finding the perfect balance…
Read More