Sub-Total: $0.00


Ways to Wax and Treat Hardwood Floors: Professional Advice From All American Flooring in DFW (Dallas-Fort Worth)
Hardwood floors are beautiful and timeless, and they bring warmth to a space without overpowering its design. They’re versatile, durable and eco-friendly.
To ensure your hardwood floors stay shiny and protected, it’s important to wax, polish, refinish, restain or rescreen them on a regular schedule. Keep reading to learn more about waxing your wood floor and the other options you have for protecting your flooring.
The Importance of Hardwood Floor Care
Wood floors can become dull with use, so you’ll want to protect them with regular maintenance. Waxing and polishing are floor restoration and preservation techniques that help protect your flooring from damage and ensure the hardwood stays beautiful for years. Wax protects, while polish shines.
Understanding Floor Wax and No-Wax Options
Flooring finished with oil, varnish, shellac, wood sealer or lacquer can benefit from the protective properties of floor wax. Wood floor wax is available as either a solid or a liquid paste:
- Solid wax paste: This type of wax is usually sold in cans. It contains more wax and less solvent. The high ratio of wax gives the solid wax a thicker consistency, requiring manual application using a piece of cloth. The coat from solid wax requires fewer layers when compared to liquid wax.
- Liquid wax: This type of wax is available in cans or bottles. Due to its higher solvent ratio, liquid wax has a thinner consistency. You can apply it on the floor with a mop in multiple coats.
We do not recommend using wax meant for furniture, as this product will turn the floor into an ultra-sleek surface that poses a slipping hazard for you and any other occupant of the house. Therefore, always stick to wax labeled “for use on floors only.”
Moreover, avoid using acrylic or solvent-based waxes on hardwood floors, as they can damage unfinished hardwood floors by causing a white tinge. Also, look for wax of traditional origin that requires buffing after application.
Waxing and Buffing Techniques: Step-by-Step Guide
Although waxing your hardwood floors takes time, it’s not complicated. Many people rent a machine to help them with the preparation and buffing stages. A successful waxing process involves three significant steps:
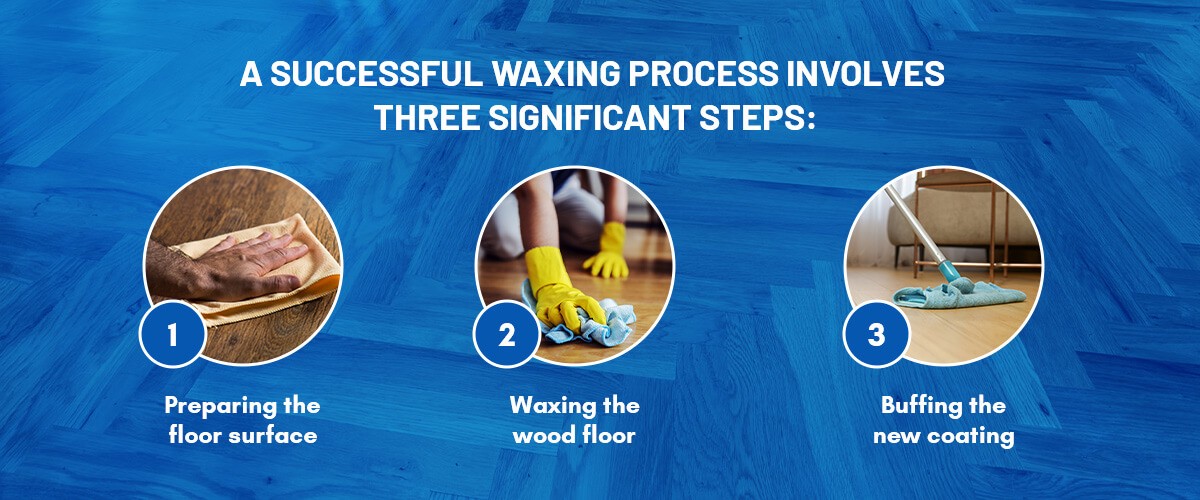
- Preparing the floor surface
- Waxing the wood floor
- Buffing the new coating
You’ll achieve the best results for your hardwood floor when you follow these steps.
1. Prepare the Floor Surface
Clear the floor surface by removing all the furniture and rugs. Strip old wax using a commercial wax stripper or mineral spirits on a soft, damp cloth, working on 2-foot sections of the floor at a time until no more wax residue is present on the cloth. Although this can take some time, it’s essential for a successful re-waxing.
Use steel wool to slough off the built-up wax on the floor surfaces. Be careful not to scratch or damage the wood flooring underneath. Using a microfiber cloth pad with a dust brush attachment, sweep up the dust and any other loose wax buildup. If the floor is not yet clean, use a sponge mop to wet-clean the surface.
2. Wax the Wood Floor
Before beginning the wax application process, always wear the right protective gear. For example, gloves protect your hands, and a dust mask protects you from wax fumes. Also, grab a putty knife and a soft, lint-free cloth to apply the solid wax.
Find a comfortable kneeling position if you’re applying solid wax. You’ll remain standing if you’re working with liquid wax. Working in 2-foot sections, apply the wax in the direction of the floorboards until you cover the whole room. Leave it for about 10 minutes. One coat is enough for finished wood, and two coats work for unfinished wood. Let the final coat dry before buffing.
3. Buff the New Coating
Using a towel, rub the mop over the floor 2 feet at a time, starting from one corner and moving in the direction of the wood grain. If the work is overwhelming, you can rent an electric buffer to speed up the process. Leave the floor undisturbed for about eight hours before replacing the furniture.
Re-wax your floor according to the manufacturer’s recommended intervals. For solid wax, the re-waxing range typically falls between two and five years. However, some individuals prefer to wax their floors annually — it’s up to you and how long the wax typically remains on your floor.
Polishing Your Hardwood Floors
While wax protects your floors, polish keeps them shiny. After waxing your floors, follow these steps to polish them:
- Pour a bit of polish onto a clean mop head, and pour some more directly onto the floor.
- Spread the polish evenly and allow it to dry.
- Buff the floor with an electric polisher or a clean towel.
- Repeat once or twice, buffing each time.
Preventive Treatments for Hardwood Floors in High-Traffic Areas
If your hardwood floor experiences a lot of foot traffic, it will likely need to be treated more often. However, there are many ways to reduce the impact of foot traffic on your hardwood floor’s finish:
- Lay down rugs, mats and runners.
- Request that guests take off their shoes before entering your home.
- Use pads underneath your furniture.
- Invest in high-quality wax finishes.
- Set a cleaning and re-waxing schedule.
Even with these precautions, your floors will eventually need re-waxing, especially if they experience high foot traffic. If your floor needs more intensive restoration, refinishing or rescreening are beneficial options.
All American Flooring’s Hardwood Restoration Services
If you’d like to leave the restoration services to the professionals, turn to All American Flooring. We offer the following hardwood services:
- Refinishing and restaining: Refinishing hardwood floors is beneficial every 10 or so years. If you look at your hardwood floor and see deep scratches, discoloration, water damage, gouges or a dulled finish, you can count on the professionals at All American Flooring to refinish and restain your floors. We’ll restore their shine and make them look new again!
- Rescreening: Screening revitalizes your hardwood floor and is an excellent option when you don’t need comprehensive refinishing services. Screening involves taking off the wood’s top layer of polyurethane without impacting the wood underneath. Then, the experts at All American Flooring will add a new coat to give your floors a polished shine.
The result of these services is a floor that’s shiny, protected and beautiful. With newly refinished or rescreened floors, you can retain your home’s value, increase the life span of your floors and enhance the look of your home.
Contact All American Flooring for Guidance
If you’re looking for new hardwood floors or hardwood restoration services, trust All American Flooring. We have more than 45 years of experience serving customers in the Dallas-Fort Worth area, and our free design consultation helps you make the best choice for your home or business. When you want to revitalize your floors, our refinishing, restaining and rescreening services can help you preserve your original hardwood.
Our Locations and Showrooms
- Allen, TX, Flooring Products and Installation
- Dallas, TX, Flooring Showroom
- Lewisville, TX, Flooring Products and Installation
- Wylie, TX, Flooring Company Location
Our flooring products are sourced in the United States, so you can feel good about what’s underneath your feet. We’ve helped more than 50,000 happy customers upgrade their flooring and enjoy a better quality of life in their homes or businesses.
Contact us today to schedule your free design consultation!